Email marketing remains one of the most powerful tools for growing your business and fostering meaningful connections with your audience. Whether you’re an entrepreneur, freelancer or aspiring marketer, mastering email marketing can open up a world of opportunities. Sender is an excellent email marketing for beginners platform that simplifies this process for beginners. It’s user-friendly, affordable and packed with features to streamline your email campaigns. Email marketing for beginners is one of the most effective ways to grow a business, build meaningful relationships with your audience and drive measurable results.
This blog post is designed to be a step-by-step email marketing guide for beginners, showing you how to use Sender effectively. From setting up your account to automating emails, you’ll learn everything you need to know to grow your email list and engage your subscribers. By the end of this article, you’ll be well on your way to crafting successful email marketing campaigns that drive results.
Why Email Marketing for Beginners Matters
Email marketing remains a cornerstone of digital marketing strategies because of its exceptional benefits:
- High ROI: Research shows email marketing has one of the highest returns on investment among marketing channels.
- Personalized Communication: It enables direct, tailored communication with your audience.
- Cost-Effective: Tools like Sender.net offer affordable options, perfect for beginners and small businesses.
Understanding email marketing for beginners allows you to tap into these advantages and create a strategy that works for your business.
Step 1: Create Your Sender Account
Getting started with Sender is straightforward:
- Visit the Sender website and click on the “Sign Up” button.
- Enter your email address, create a password and verify your account.
- Once logged in, explore the intuitive dashboard. The platform’s user-friendly interface ensures that even beginners can navigate effortlessly.
Once you’re logged in, you’ll find an intuitive dashboard that makes navigation easy. Take a few minutes to explore the interface and familiarize yourself with its features. Sender is designed to make email marketing straightforward, even for beginners.
Step 2: Connect Sender with Your Custom Domain
Connecting Sender with your custom domain is a crucial step to enhance your email deliverability and maintain brand consistency. Here’s how to set it up:
- Access Domain Settings:
- Log in to Sender and go to the “Settings” section.
- Navigate to “Domains” and click on “Add Domain.”
- Verify Your Domain:
- Enter your custom domain name and follow the provided instructions.
- Sender will generate DNS records (e.g., SPF, DKIM and DMARC) that you need to add to your domain registrar.
- Update DNS Records:
- Log in to your domain registrar (e.g., MilesWeb, GoDaddy, Namecheap or Cloudflare).
- Add the DNS records exactly as provided by Sender. These typically include:
- SPF Record: To authorize Sender to send emails on your behalf.
- DKIM Record: To authenticate your emails and ensure they aren’t flagged as spam.
- DMARC Record: To protect your domain from unauthorized use.
- Verify the Setup:
- Return to Sender.net and click on “Verify.”
- It may take up to 24 hours for DNS changes to propagate, so be patient if verification isn’t immediate.
- Test Your Domain:
- Send a test email to confirm that your custom domain is correctly linked and functioning.
Step 3: Set Up Your Email List
Building and growing your email list is crucial to a successful email marketing strategy. An engaged email list is the foundation of successful email marketing. Here’s how to set up your list on Sender:
- Navigate to the “Contacts” tab and select “Add New List.”
- Name your list and start adding contacts by:
- Uploading a CSV or Excel file.
- Manually entering email addresses.
- Integrating with tools like forms or CRMs.
- Ensure your list is composed of individuals who have opted in to receive your emails.
Step 4: Design Your First Email Campaign
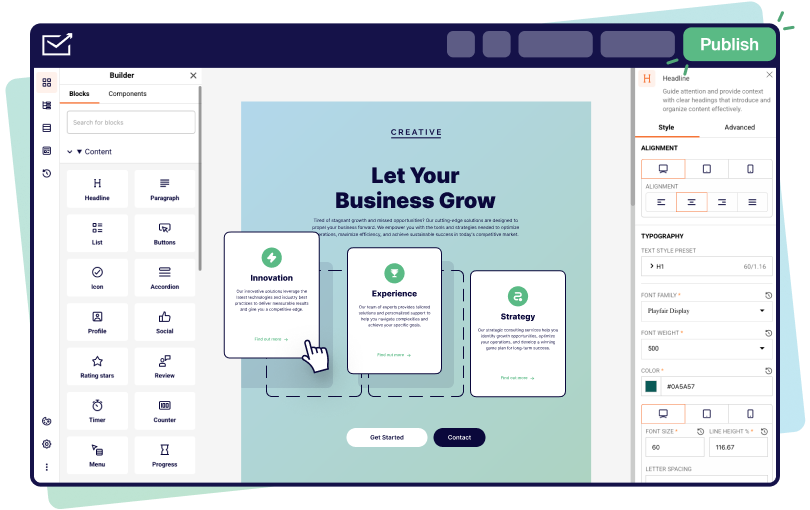
Designing your first campaign is a pivotal step in email marketing for beginners. Sender makes it easy with its drag-and-drop editor and pre-designed templates. Crafting engaging emails is where the magic happens. Here’s how to create your first campaign:
- Go to the “Campaigns” section and click on “Create New Campaign.”
- Choose a pre-designed template or use the drag-and-drop editor to create a custom design.
- Include the following key elements:
- Branding: Add your logo, brand colors, and consistent fonts.
- Subject Line: Write a compelling and concise subject line to boost open rates.
- Call-to-Action (CTA): Encourage readers to take specific actions like visiting your website or downloading a resource. Ensure that your email includes a clear call-to-action (CTA), whether it’s encouraging readers to visit your website, download a resource or make a purchase. For a product launch, use bold visuals, a clear CTA like “Shop Now,” and a subject line like “New Arrivals You’ll Love!”
- Preview and test your email before sending it to ensure it displays correctly on all devices.
Step 5: Automate Your Emails

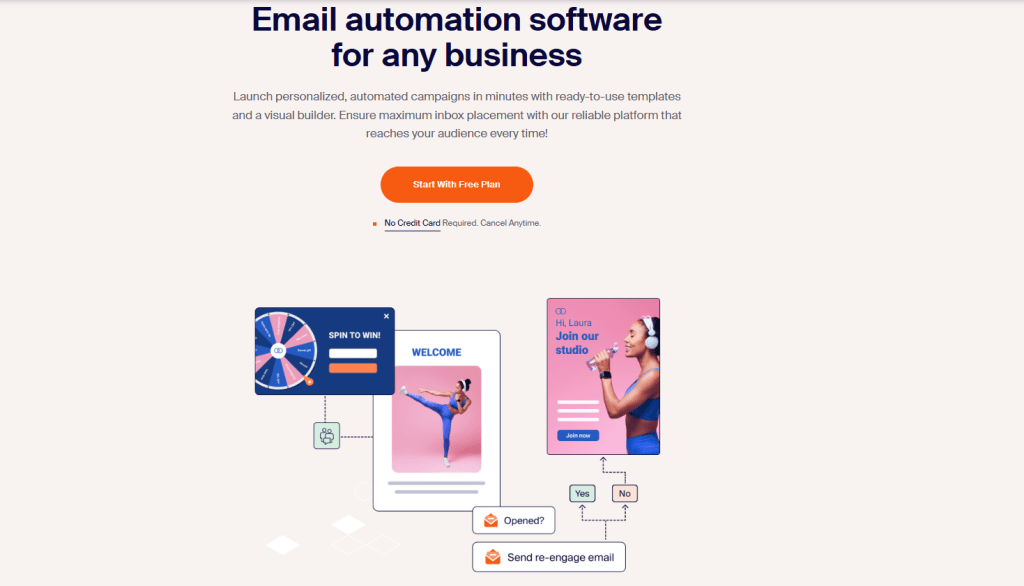
Email automation is a important in email marketing for beginners. It allows you to send timely and personalized messages without manual effort. It saves time and ensures your audience receives timely, relevant content. Here’s how to set up automation with Sender:
- Navigate to the “Automation” tab and select “Create Workflow.”
- Choose a pre-built template, such as:
- Abandoned cart reminders for e-commerce.
- Welcome series for new subscribers.
- Follow-up sequences for lead nurturing.
- Customize the workflow by setting:
- Triggers: Events that initiate the automation (e.g: subscription to your list).
- Conditions: Specific criteria for sending emails.
- Actions: The emails or tasks to execute.
- Test the automation to ensure it functions as intended.
Benefits of Automation:
- Saves time and effort.
- Delivers personalized experiences.
- Increases engagement and conversions.
Step 6: Analyze and Optimize Your Campaigns
Analyzing your campaigns is crucial for continuous improvement. Sender provides detailed analytics to track performance:
- Monitor key metrics such as:
- Open Rates: Percentage of recipients who open your email.
- Click-Through Rates (CTR): Percentage of recipients who click on links within your email.
- Conversions: Actions taken after clicking your email (e.g., purchases or sign-ups).
- Use A/B testing to experiment with different elements like subject lines, CTAs, and sending times.
- Adjust your strategy based on insights. For example:
- Low open rates? Refine your subject lines.
- Low CTR? Rework your email design or CTA placement.
Why Sender is Perfect Email Marketing for Beginners
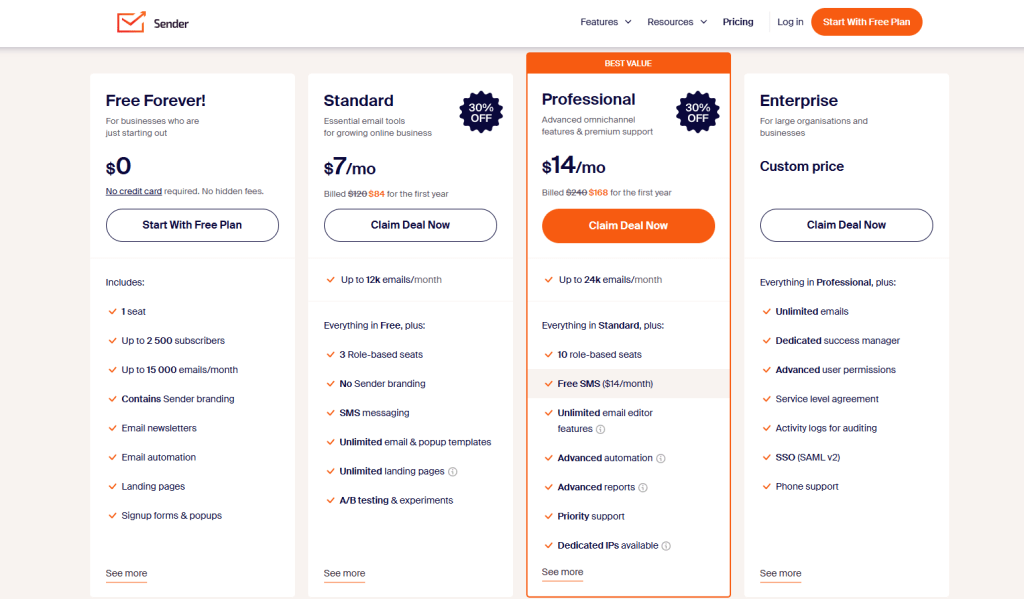
Sender stands out as an ideal email marketing for beginners because of its ease of use and robust features. Its free plan includes generous limits, making it accessible for startups and small businesses. Additionally, its drag-and-drop editor and automation tools simplify the process of creating effective email campaigns.
Sender stands out for its simplicity and robust features:
- User-Friendly Interface: Easy navigation and intuitive tools make it ideal for beginners.
- Affordable Plans: Generous free plan and scalable options for growing businesses.
- Drag-and-Drop Editor: Effortlessly create professional designs.
- Automation Tools: Set up workflows to save time and enhance personalization.
- Analytics Dashboard: Gain valuable insights to optimize campaigns.

Bonus Tips for Email Marketing Success
- Segment Your Audience: Divide your email list into smaller groups based on behavior, demographics, or preferences to send more targeted messages.
- Maintain Consistency: Send emails regularly to stay top-of-mind without overwhelming your subscribers.
- Ensure Mobile Optimization: With most users checking emails on mobile devices, responsive designs are non-negotiable.
- Comply with Regulations: Adhere to GDPR, CAN-SPAM and other email marketing laws by including an unsubscribe link and accurate sender information.
Final Verdict
Email marketing for beginners doesn’t have to be overwhelming, especially with tools like Sender at your disposal. With the right tools and a clear strategy, you can start building meaningful connections with your audience today. Sender offers everything you need to grow your email list, create engaging campaigns, and automate your emails effortlessly.
By following this step-by-step guide, you’ll be equipped to:
- Build and grow your email list.
- Design eye-catching email campaigns.
- Leverage automation for efficiency.
- Analyze results to continuously improve.
Start your email marketing journey with Sender today and unlock the potential to connect with your audience, drive engagement and grow your business. By following this step-by-step email marketing for beginners’ guide, you’ll be equipped to launch successful campaigns and drive measurable results. Whether you’re looking to promote products, share updates or simply connect with your subscribers, Sender is your go-to platform. Start your email marketing journey today and watch your business grow!
Additional Tips for Email Marketing for Beginners
- Segment Your Audience: Divide your list into smaller groups based on demographics, interests, or behavior for highly targeted campaigns.
- Optimize for Mobile: Ensure your emails are mobile-friendly, as most people check emails on their phones.
- Maintain a Consistent Schedule: Send emails regularly without overwhelming your subscribers.
- Stay Compliant: Include an unsubscribe link in every email and follow regulations like GDPR and CAN-SPAM.
- Provide Value: Focus on delivering content that educates, entertains, or solves a problem for your audience.


